A Flutter plugin for using the native Facebook Login SDKs on Android and iOS
Introduction
Facebook is the largest social network in the world, with around 2.89 billion monthly active users as of the second quarter of 2021. This is a major reason as to why every application these days provide login/signin with Facebook. This way it is convenient for the users as well as the developers as it provides a broader user/customer base.
The Facebook SDK makes it easy and secure for people to check in to an app without having to create an account. The Facebook SDK also protects users’ privacy by allowing them to provide rights to your app when they check in. After that, you can use your application to retrieve data and conduct activities.
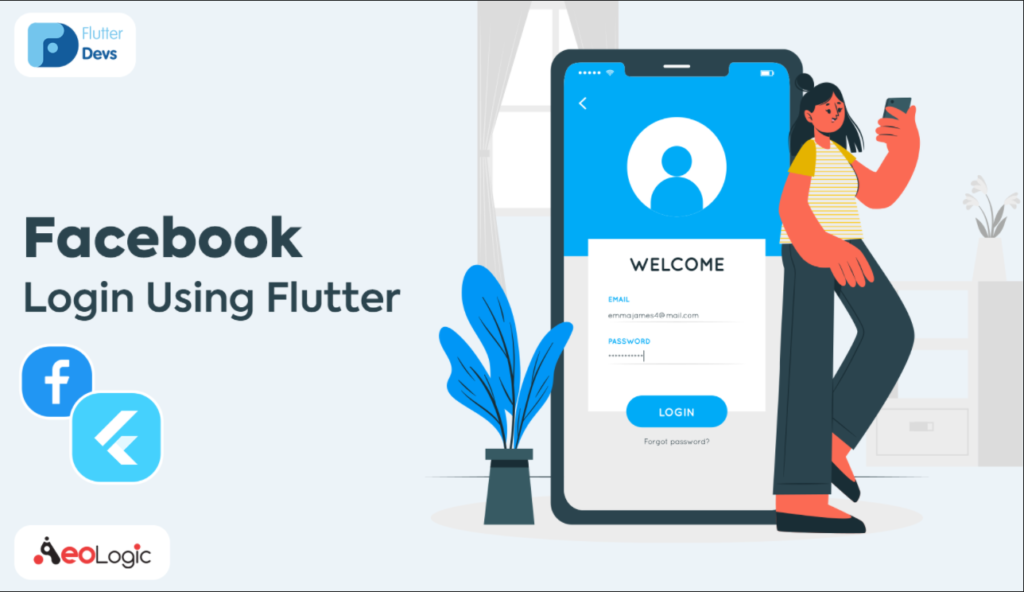
In this blog, we’ll go over how to login to Facebook and receive authorization in a Flutter application. We’ll utilize the flutter facebook login plugin, which isn’t a Facebook official plugin. This plugin uses Facebook’s native SDK for Android and iOS. Before using the Facebook login feature in a Flutter application, be sure you know what you’re doing. Some prerequisite tasks must be completed first. You must have a Facebook account that is active.
flutter_facebook_login
A Flutter plugin for using the native Facebook Login SDKs on Android and iOS.
For a developer, logging in has become one of the most critical aspects of their job. With a good onboarding system, we can better serve our users’ needs than ever before. As a result, it has become a requirement in practically all apps.
As a result, most firms have created a means for customers to log in smoothly through their own apps. Companies like Facebook, Google, and Twitter have made it so that you can log in with just one click, and with flutter, it’s even easier.
AndroidX support
- if you want to avoid AndroidX, use version 1.2.0.
- for AndroidX Flutter projects, use versions 2.0.0 and up.
Installation
To get things up and running, you’ll have to declare a pubspec dependency in your Flutter project. Also some minimal Android & iOS specific configuration must be done, otherwise your app will crash.
On your Flutter project
See the installation instructions on pub.
Android
This assumes that you’ve done the “Associate Your Package Name and Default Class with Your App” and “Provide the Development and Release Key Hashes for Your App” in the the Facebook Login documentation for Android site.
After you’ve done that, find out what your Facebook App ID is. You can find your Facebook App ID in your Facebook App’s dashboard in the Facebook developer console.
Once you have the Facebook App ID figured out, you’ll have to do two things.
First, copy-paste the following to your strings resource file. If you don’t have one, just create it.
<your project root>/android/app/src/main/res/values/strings.xml
<?xml version="1.0" encoding="utf-8"?>
<resources>
    <string name="app_name">Your App Name here.</string>

    <!-- Replace "000000000000" with your Facebook App ID here. -->
    <string name="facebook_app_id">000000000000</string>

    <!--
      Replace "000000000000" with your Facebook App ID here.
      **NOTE**: The scheme needs to start with `fb` and then your ID.
    -->
    <string name="fb_login_protocol_scheme">fb000000000000</string>
</resources>
Then you’ll just have to copy-paste the following to your Android Manifest:
<your project root>/android/app/src/main/AndroidManifest.xml
<meta-data android:name="com.facebook.sdk.ApplicationId"
    android:value="@string/facebook_app_id"/>

<activity android:name="com.facebook.FacebookActivity"
    android:configChanges=
            "keyboard|keyboardHidden|screenLayout|screenSize|orientation"
    android:label="@string/app_name" />

<activity
    android:name="com.facebook.CustomTabActivity"
    android:exported="true">
    <intent-filter>
        <action android:name="android.intent.action.VIEW" />
        <category android:name="android.intent.category.DEFAULT" />
        <category android:name="android.intent.category.BROWSABLE" />
        <data android:scheme="@string/fb_login_protocol_scheme" />
    </intent-filter>
</activity>
A sample of a complete AndroidManifest file can be found here.
Done!
iOS
This assumes that you’ve done the “Register and Configure Your App with Facebook” step in the the Facebook Login documentation for iOS site. (Note: you can skip “Step 2: Set up Your Development Environment” and “Step 5: Connect Your App Delegate”).
After you’ve done that, find out what your Facebook App ID is. You can find your Facebook App ID in your Facebook App’s dashboard in the Facebook developer console.
Once you have the Facebook App ID figured out, then you’ll just have to copy-paste the following to your Info.plist file, before the ending </dict></plist> tags. (NOTE: If you are using this plugin in conjunction with for example google_sign_in plugin, which also requires you to add CFBundleURLTypes key into Info.plist file, you need to merge them together).
<your project root>/ios/Runner/Info.plist
<key>CFBundleURLTypes</key>
<array>
    <!--
    <dict>
    ... Some other CFBundleURLTypes definition.
    </dict>
    -->
    <dict>
        <key>CFBundleURLSchemes</key>
        <array>
            <!--
              Replace "000000000000" with your Facebook App ID here.
              **NOTE**: The scheme needs to start with `fb` and then your ID.
            -->
            <string>fb000000000000</string>
        </array>
    </dict>
</array>

<key>FacebookAppID</key>

<!-- Replace "000000000000" with your Facebook App ID here. -->
<string>000000000000</string>
<key>FacebookDisplayName</key>

<!-- Replace "YOUR_APP_NAME" with your Facebook App name. -->
<string>YOUR_APP_NAME</string>

<key>LSApplicationQueriesSchemes</key>
<array>
    <string>fbapi</string>
    <string>fb-messenger-share-api</string>
    <string>fbauth2</string>
    <string>fbshareextension</string>
</array>
A sample of a complete Info.plist file can be found here.
Done!
How do I use it?
The library tries to closely match the native Android & iOS login SDK APIs where possible. For complete API documentation, just see the source code. Everything is documented there.
Since sample code is worth more than one page of documentation, here are the usual cases covered:
import 'package:flutter_facebook_login/flutter_facebook_login.dart';

final facebookLogin = FacebookLogin();
final result = await facebookLogin.logIn(['email']);

switch (result.status) {
  case FacebookLoginStatus.loggedIn:
    _sendTokenToServer(result.accessToken.token);
    _showLoggedInUI();
    break;
  case FacebookLoginStatus.cancelledByUser:
    _showCancelledMessage();
    break;
  case FacebookLoginStatus.error:
    _showErrorOnUI(result.errorMessage);
    break;
}
You can also change the visual appearance of the login dialog. For example:
// Let's force the users to login using the login dialog based on WebViews. Yay!
facebookLogin.loginBehavior = FacebookLoginBehavior.webViewOnly;
The complete API documentation lives with the source code, which can be found here.
Getting the Facebook profile of a signed in user
For now, this feature isn’t going to be integrated into this plugin. See the discussion here.
However, you can get do this in four lines of Dart code:
final result = await facebookSignIn.logIn(['email']);
final token = result.accessToken.token;
final graphResponse = await http.get(
            'https://graph.facebook.com/v2.12/me?fields=name,first_name,last_name,email&access_token=${token}');
final profile = JSON.decode(graphResponse.body);
The profile variable will now contain the following information:
{
   "name": "Iiro Krankka",
   "first_name": "Iiro",
   "last_name": "Krankka",
   "email": "iiro.krankka\u0040gmail.com",
   "id": "<user id here>"
}
Troubleshooting
If you haven’t completed AndroidX setup in your Flutter project, your project might not build. The simple solution is adding 2 lines in your android/gradle.properties:
android.useAndroidX=true
android.enableJetifier=true
For more, see “AndroidX compatibility” in the official Flutter documentation.
GitHub
Source Code: flutter_facebook_login.